Log in



The Box Has Arrived. Now What?
There is a particular excitement that comes with opening a box of Fall bulbs. The papery skins, the weight of a healthy Daffodil bulb in your hand, the promise of color stored inside something that looks so simple and unassuming right now. If you pre-ordered from Nagel Glads earlier in the season, your bulbs are arriving at just the right time. The weather is cooling, the soil is heading toward the temperature range that bulbs need for root development, and the garden is ready for the work that will determine how it looks and feels next Spring. Planting Fall bulbs is one of the most straightforward and satisfying tasks in the gardening year, and this guide will walk you through every step from opening the box to watering the finished bed.
When to Plant
The ideal planting window for Fall bulbs is when soil temperature has dropped consistently below 60°F but before the ground freezes. In most parts of the country, this falls somewhere between mid-October and late November, though gardeners in the Deep South and warmest coastal areas may plant as late as December or early January. Air temperature and soil temperature are not the same thing, and soil temperature is the one that matters. A few days of cool weather do not necessarily mean the soil has caught up. The general guideline is to plant after the first sustained period of cool Fall weather, when overnight temperatures are consistently dropping into the forties or lower. If you are unsure, erring on the side of a slightly later planting is safer than planting too early in still-warm soil, which can cause bulbs to break dormancy prematurely.
Inspect Your Bulbs Before Planting
Take a few minutes to look through the order before heading outside. Healthy bulbs feel firm and heavy for their size, with dry, intact outer skins. Soft, mushy, or lightweight bulbs may have been damaged in transit or storage and are worth setting aside rather than planting. A small amount of surface mold on the outer skin is common and not a concern, as it will not affect the bulb once it is in the ground. If a bulb has multiple growing points visible at the top, that is a good sign of vigor and may produce more than one stem in Spring. Sort your bulbs by species and variety before heading to the garden so you know exactly what is going where.

Prepare the Soil
Good drainage is the single most important soil condition for Fall-planted bulbs. Bulbs sitting in waterlogged soil through the Winter months will rot before Spring arrives, regardless of how healthy they were at planting time. If your garden soil drains well naturally, very little preparation is needed beyond loosening the soil to the appropriate planting depth. If drainage is a concern, working a generous amount of compost or coarse organic matter into the planting area improves both structure and drainage simultaneously. Avoid adding fresh manure or high-nitrogen fertilizer at planting time, as these can burn developing roots. A light application of a balanced granular fertilizer or bone meal worked into the bottom of the planting area provides a gentle nutritional foundation without any risk of damage.
How Deep to Plant Each Type
Planting depth varies by species, and getting this right is one of the most important details for strong Spring performance. The general rule is to plant a bulb at a depth of roughly two to three times its own height, measured from the base of the bulb to the soil surface above it. Here is what that looks like for each species in the Nagel Glads Fall catalog:
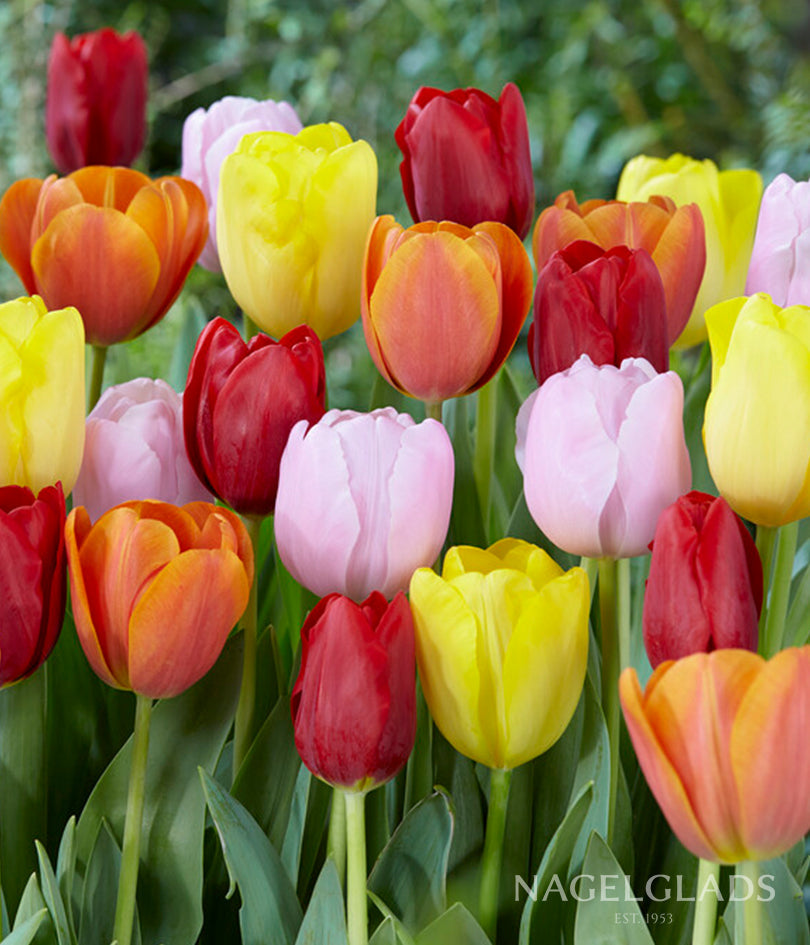
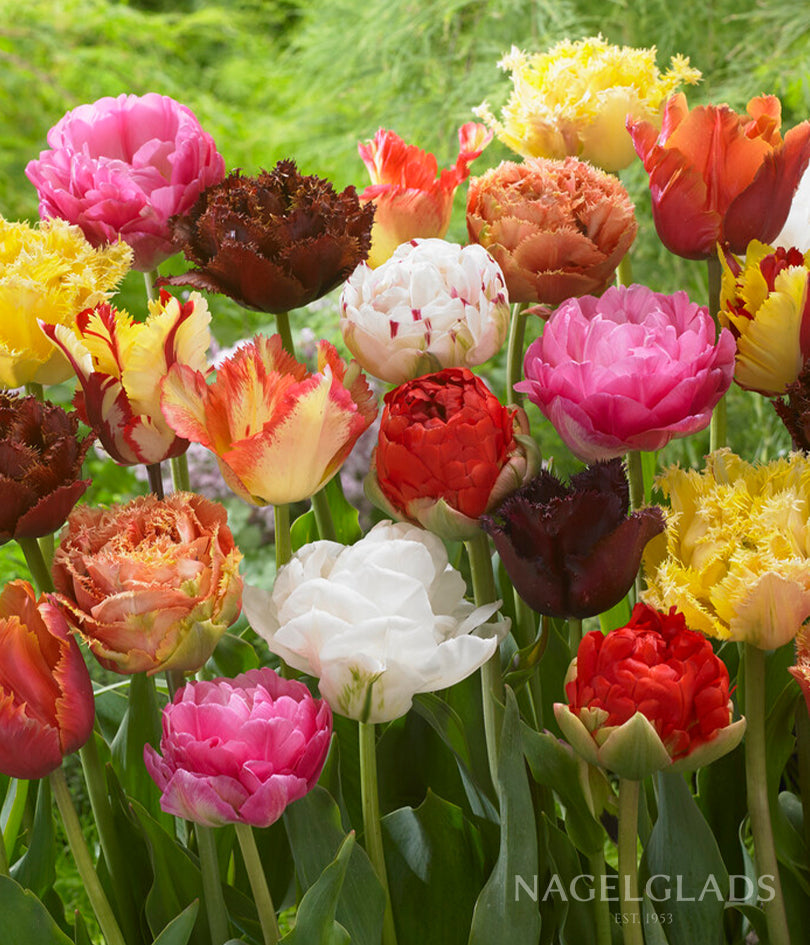
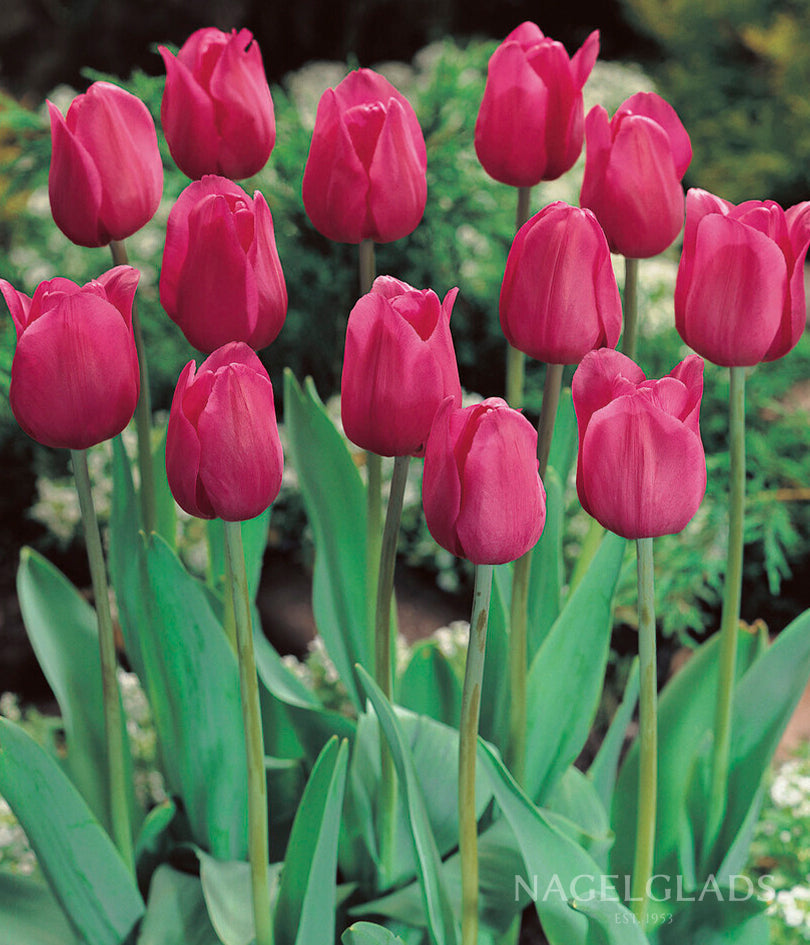
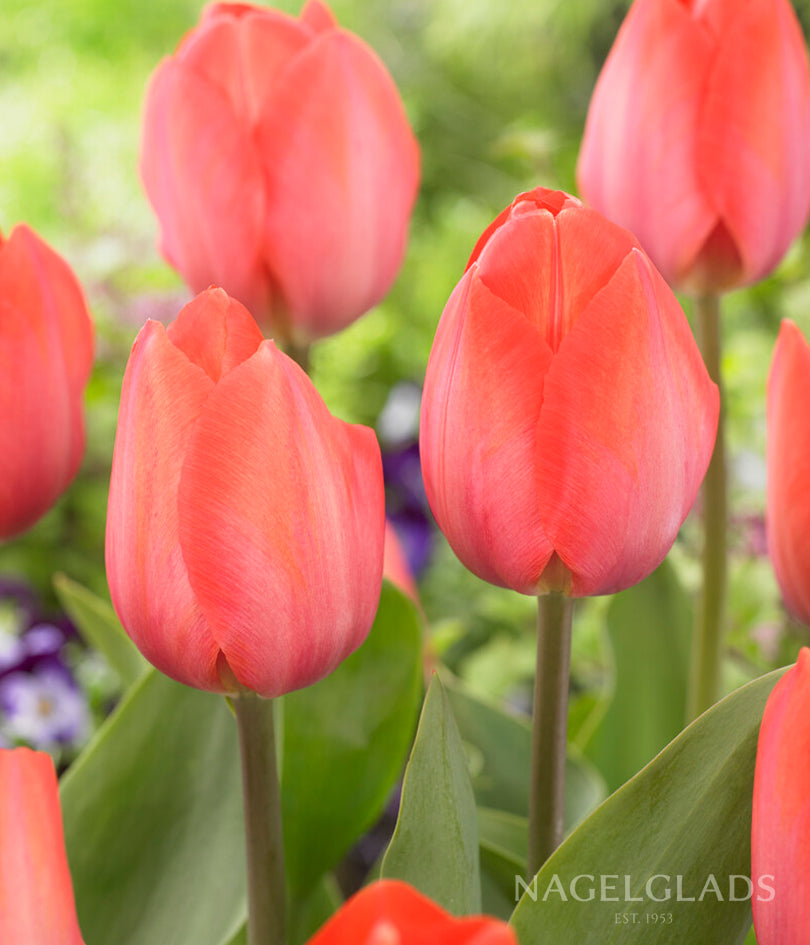
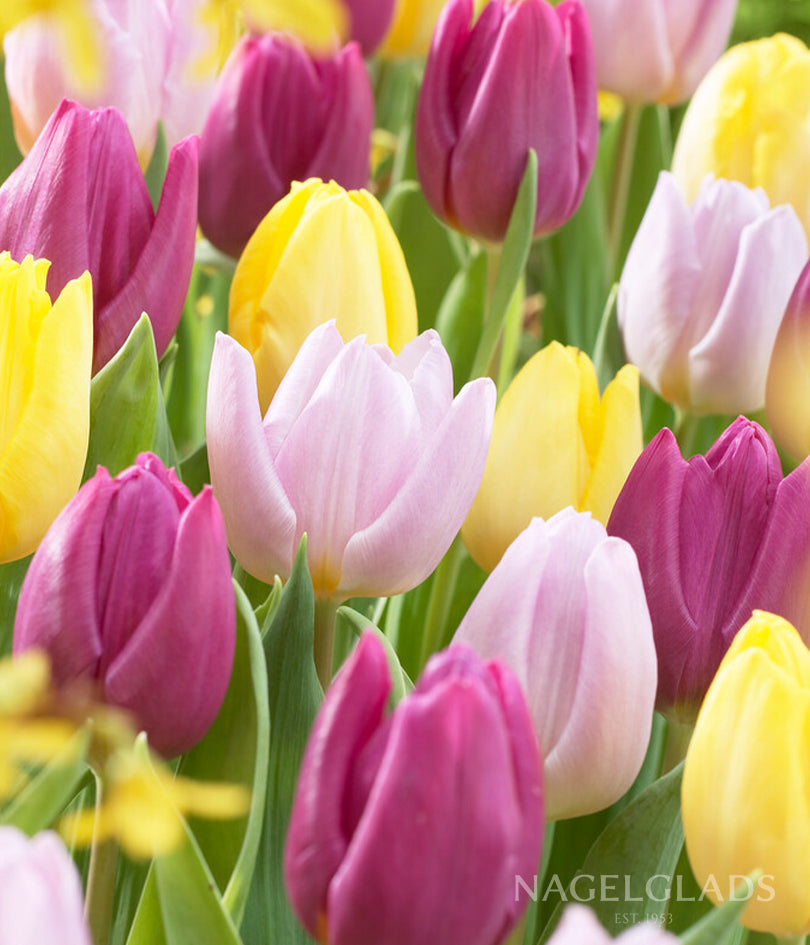
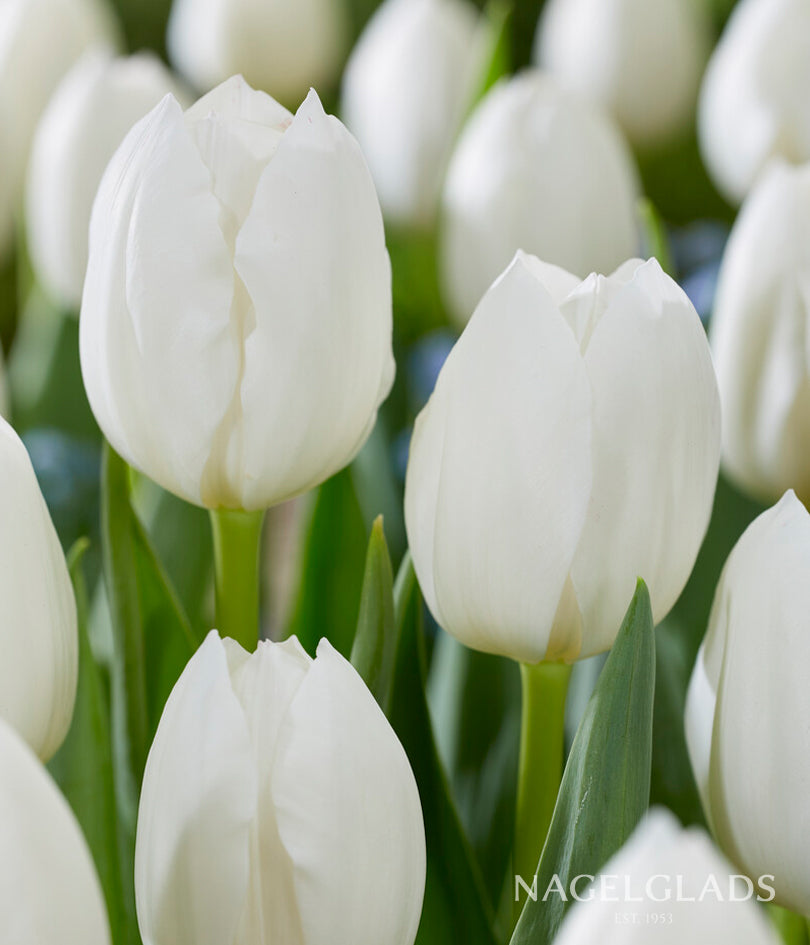
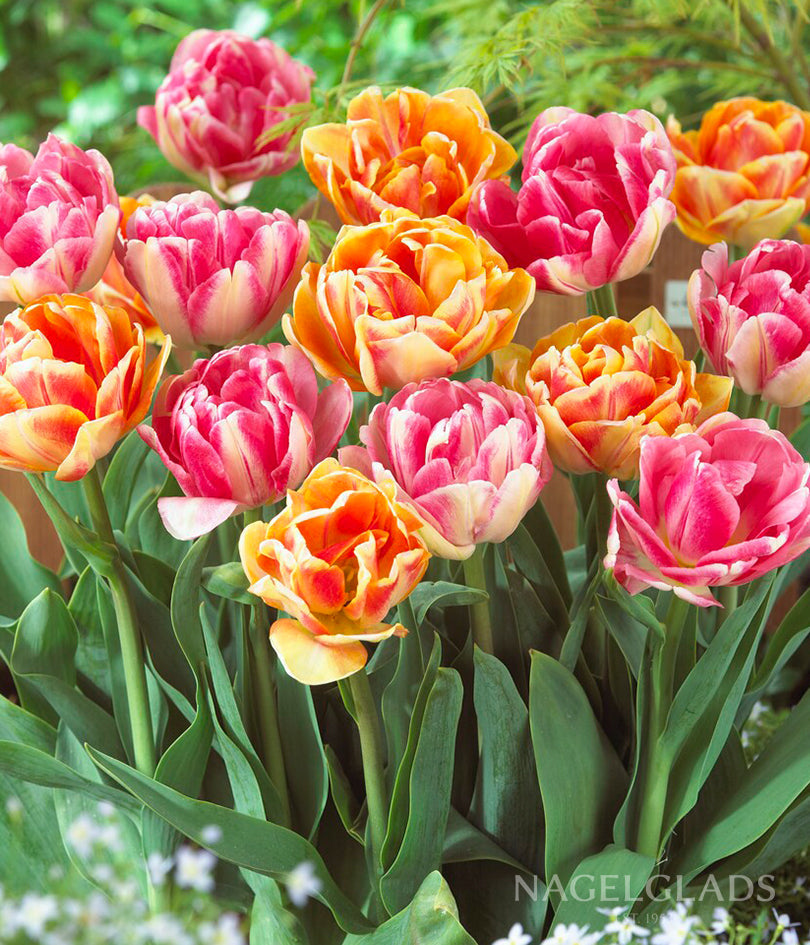
- Tulips go in at six to eight inches deep. This is deeper than many first-time planters expect, but the depth is important for both root development and protection from squirrels, who are far less likely to find and dig up a deeply planted bulb.
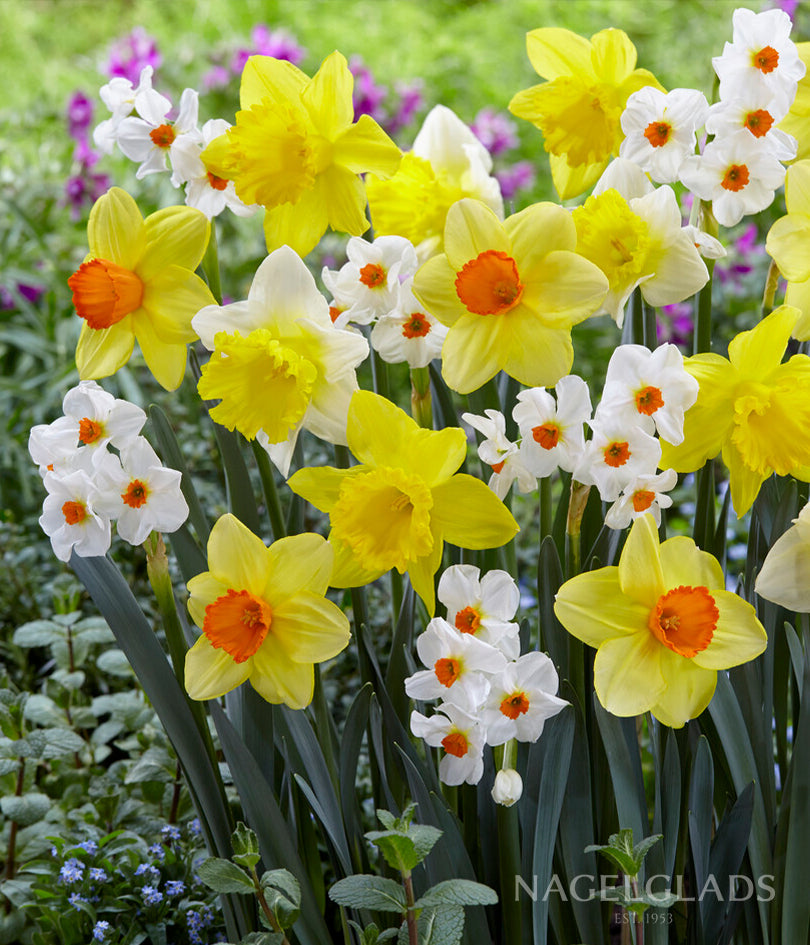
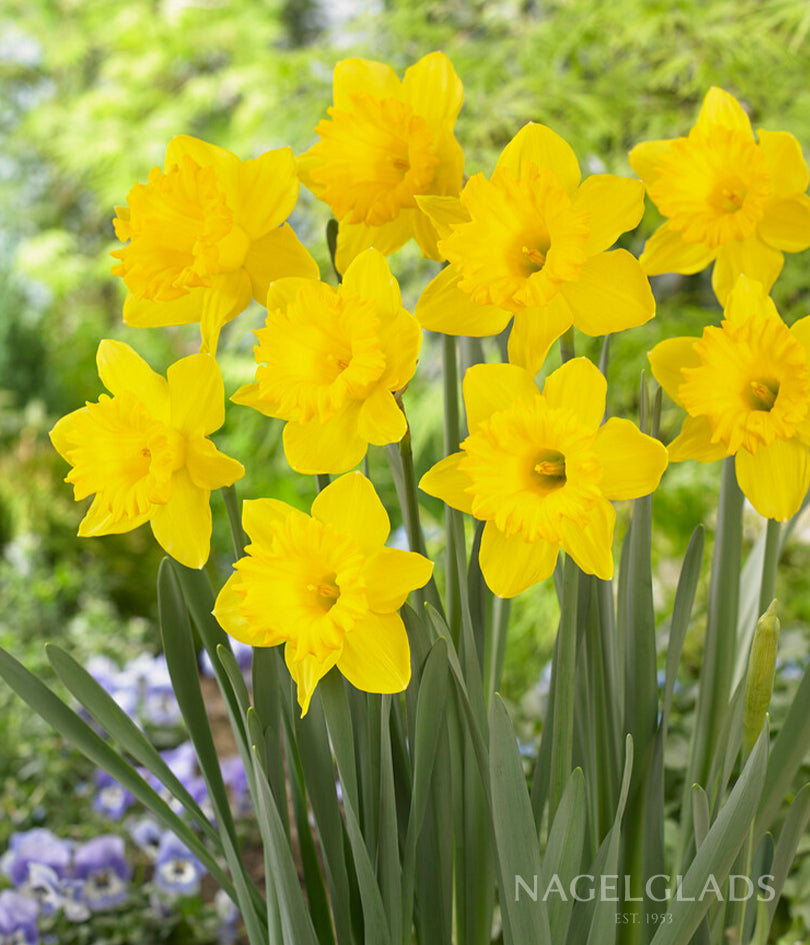
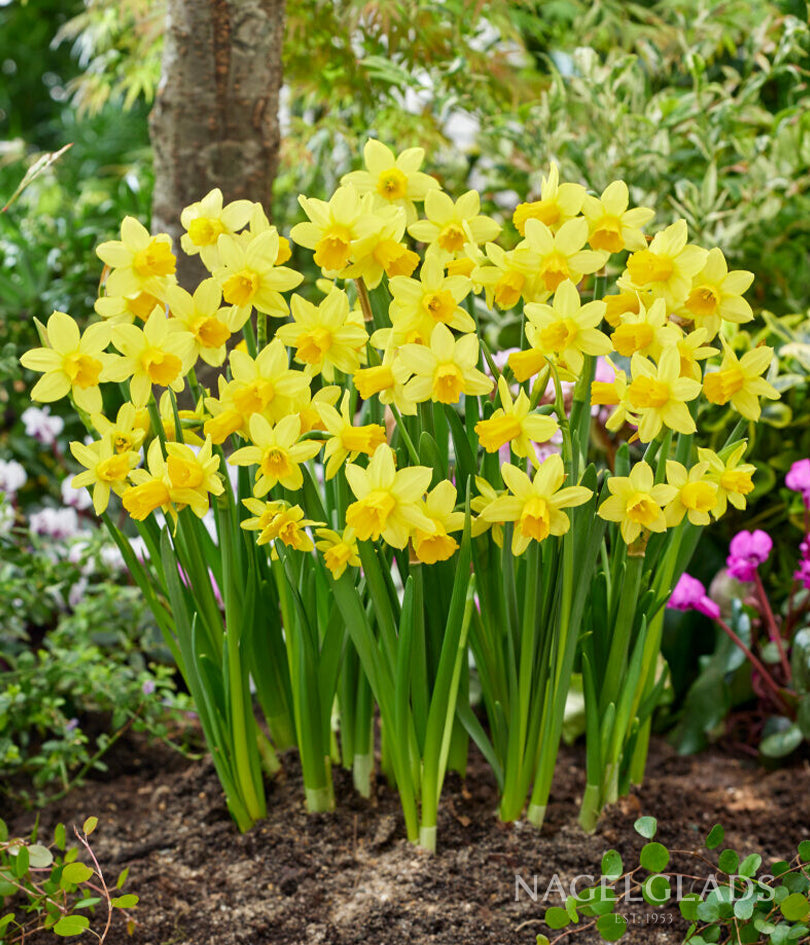
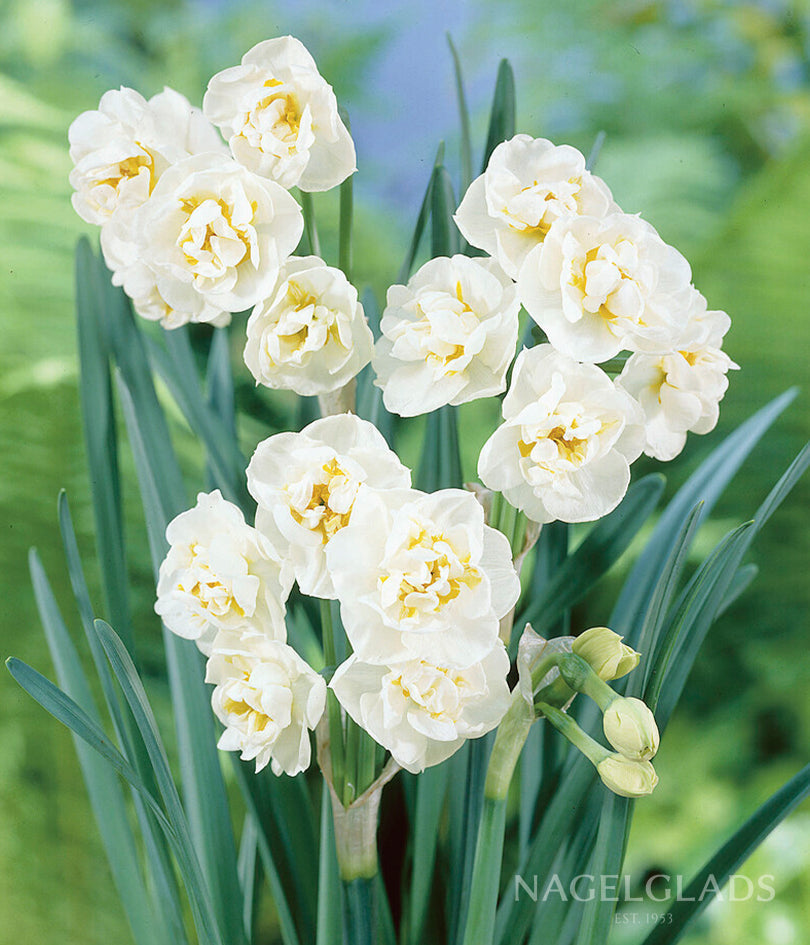
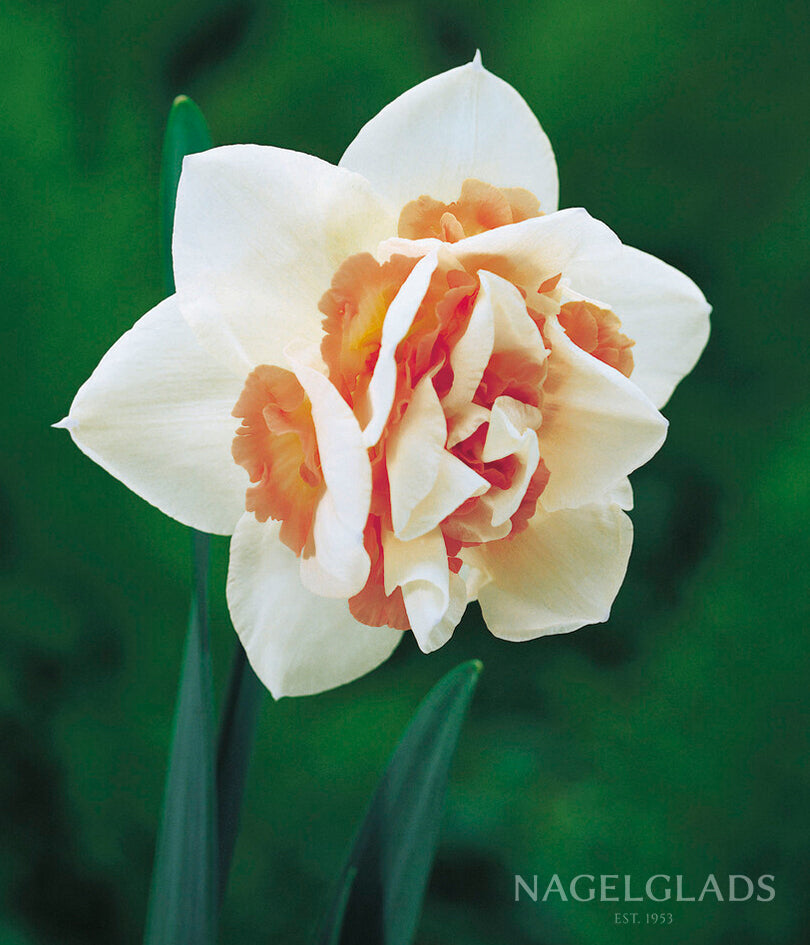
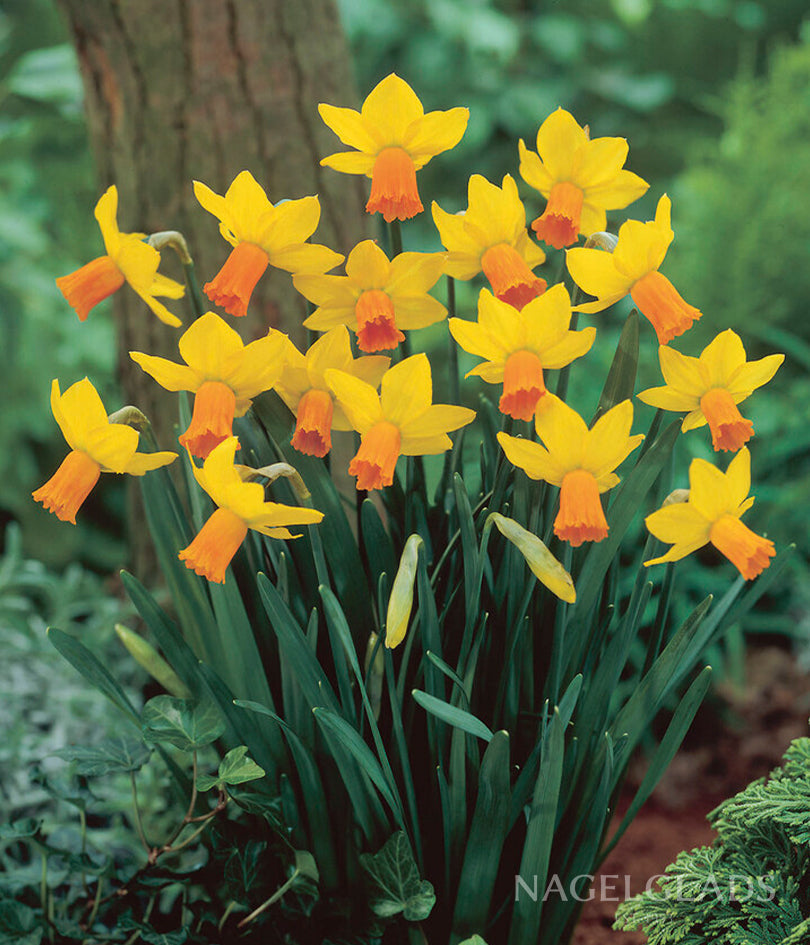
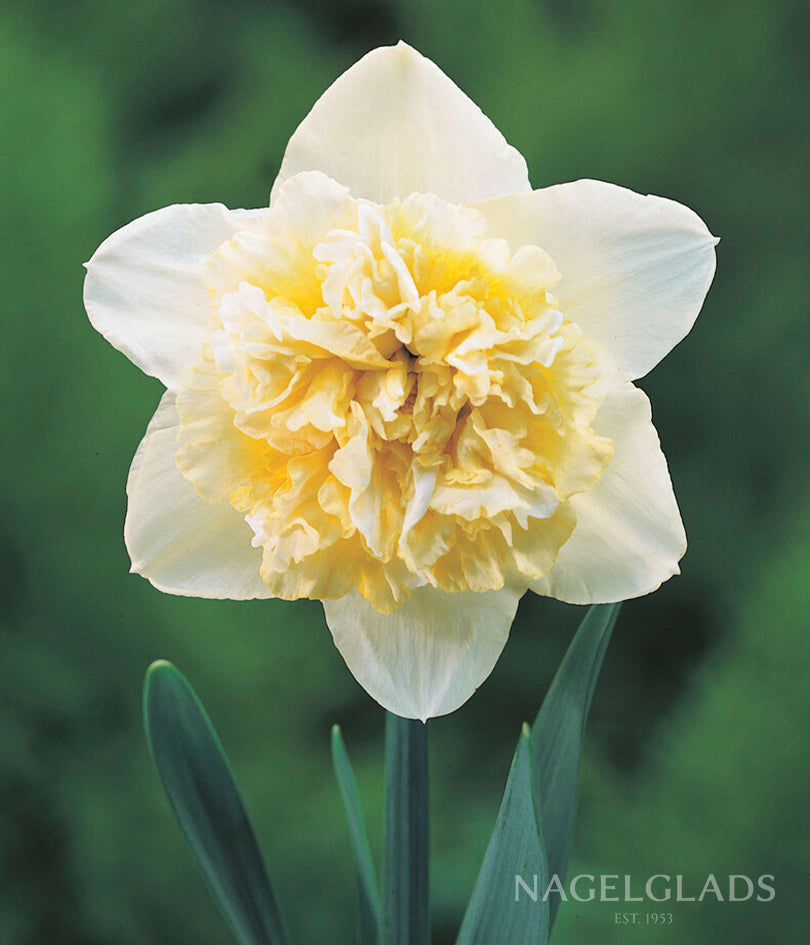
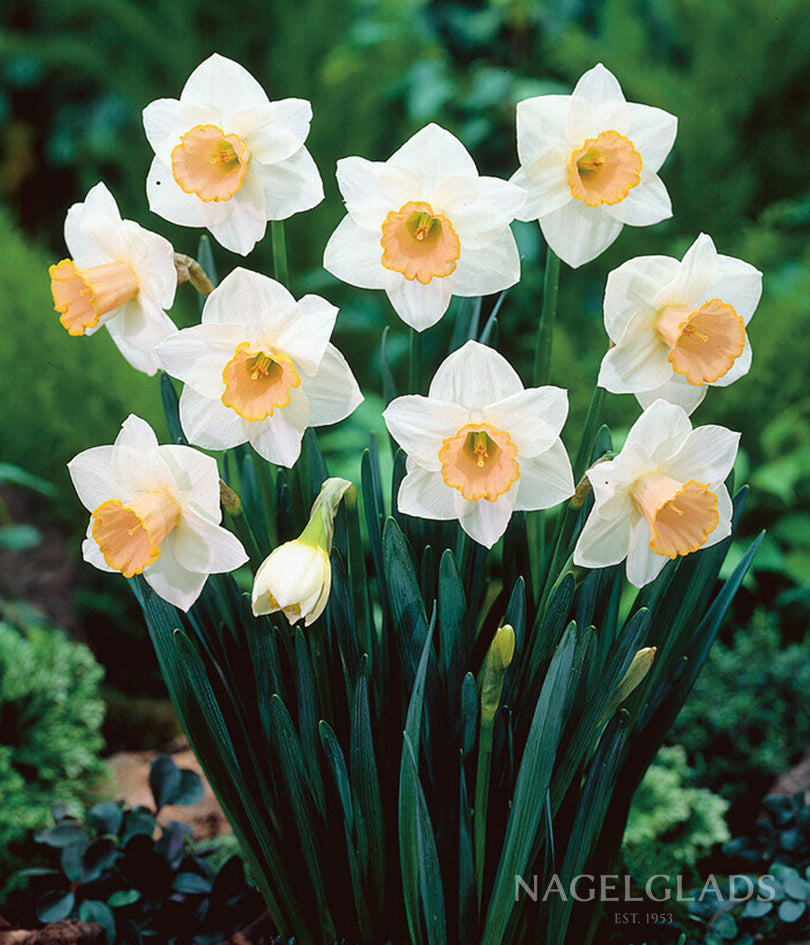
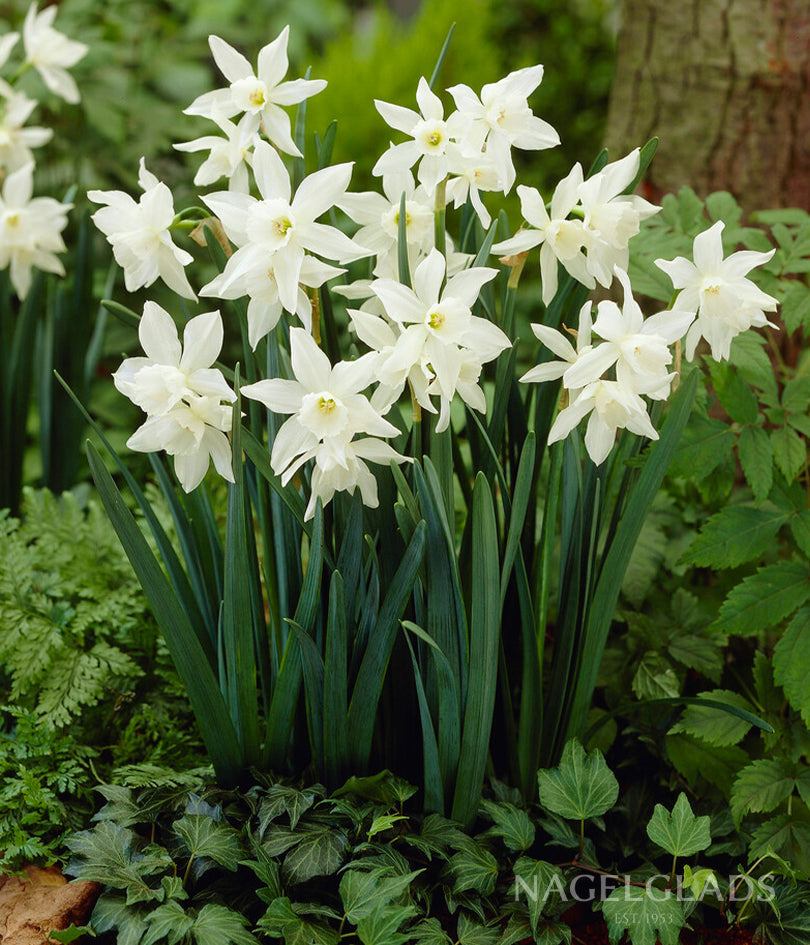
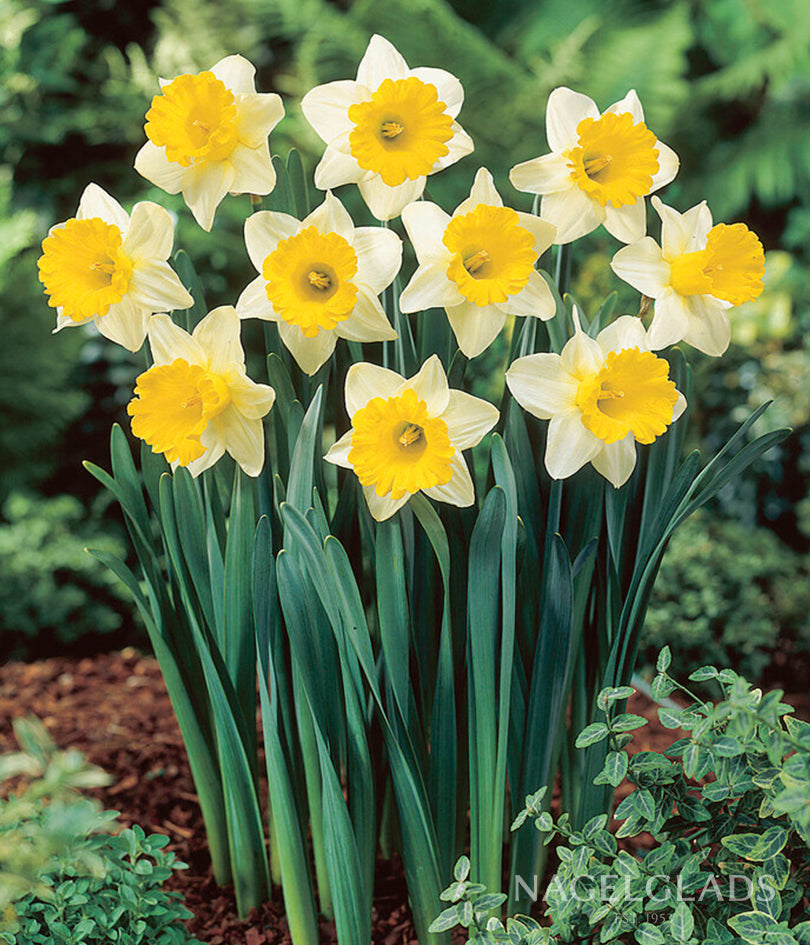
- Daffodils are planted at a similar depth, five to seven inches for standard-sized varieties. Miniature Daffodils like Tete a Tete Daffodil Flower Bulbs can be planted slightly shallower, at three to four inches, as the bulbs themselves are smaller.
- Hyacinth bulbs go in at six to eight inches deep. One practical note worth mentioning: Hyacinth bulbs can irritate sensitive skin when handled, so wearing lightweight garden gloves during planting is a worthwhile precaution.
- Allium planting depth depends on the size of the bulb. Larger varieties like Purple Sensation Allium Flower Bulbs and Multibulbosum Allium Flower Bulbs should be planted six to eight inches deep. Smaller Allium like Azureum Allium Flower Bulbs go in at three to four inches.
- Ranunculus tubers are planted much shallower than true bulbs, at two to three inches deep, with the small claw-like projections pointing downward into the soil. Soaking the tubers in room-temperature water for three to four hours before planting helps rehydrate them and encourages faster root development after planting.
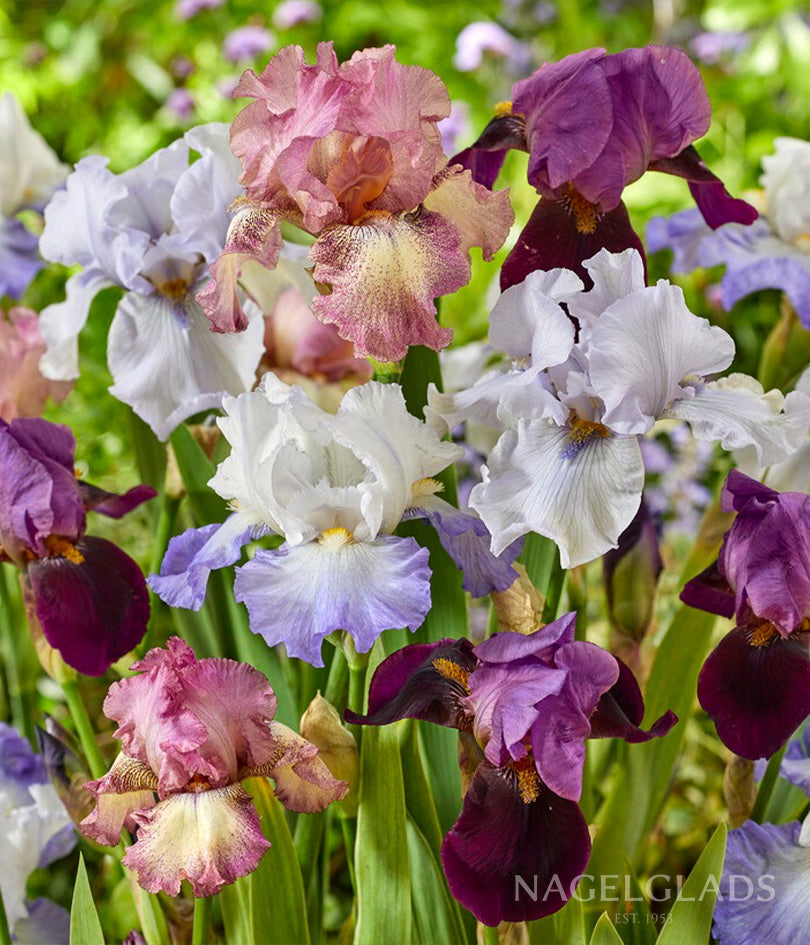
- Bearded Iris are planted differently from all other Fall bulbs in the catalog. The rhizomes should be set at or just barely below the soil surface with the roots spread downward into the soil and the top of the rhizome exposed to sunlight. Burying Bearded Iris rhizomes too deeply is one of the most common planting mistakes and can prevent flowering or encourage rot.

Which End Goes Up
This is one of the most commonly asked questions among first-time bulb planters, and the answer is simpler than it seems. For Tulips, Daffodils, Hyacinth, and Allium, the pointed end of the bulb faces up and the flat or slightly concave base sits at the bottom of the hole. Roots will develop from the base and the shoot will emerge from the pointed tip. For Ranunculus, the claw-like projections point downward. For Bearded Iris, the rhizome sits horizontally with roots spreading below and the growing fans of foliage facing upward. If you genuinely cannot tell which end is up on a particular bulb, planting it on its side is a perfectly acceptable solution. The shoot will find its way to the surface regardless, though it may take slightly longer than a correctly oriented bulb.
Spacing for a Full Display
How closely bulbs are planted determines how full and generous the Spring display will look. As a general guide, Tulips and Daffodils perform best spaced four to six inches apart. Hyacinth bulbs can be planted three to four inches apart for a dense, fragrant display. Large Allium varieties need six to eight inches between bulbs to allow their spherical flower heads room to develop fully. Ranunculus tubers should be spaced four to six inches apart. Bearded Iris rhizomes need the most room, with twelve to twenty-four inches between plants to allow for the spreading growth that produces the strongest bloom over multiple seasons.
For the fullest possible display, plant in clusters and drifts of a single variety rather than scattering individual bulbs across a wide area. A group of fifteen or twenty Tulips planted closely together creates a bold, intentional statement that a few bulbs dotted through a border simply cannot achieve.
Watering After Planting
Water the entire planting area thoroughly after planting to settle the soil around the bulbs and initiate root development. This initial watering is important even if rain is expected, as it ensures good soil-to-bulb contact and eliminates air pockets that can dry out developing roots. After this first watering, Fall rainfall is typically sufficient to keep the soil lightly moist through the remainder of the season. In drier Fall climates, or during extended dry spells, a light supplemental watering every week or two until the ground freezes helps ensure strong root establishment heading into Winter.

Mulching the Bed
A two to three inch layer of mulch applied over the planted area after watering provides several benefits through the Winter months. Mulch moderates soil temperature, reducing the freeze-thaw cycling that can heave shallowly planted bulbs out of the ground. It retains soil moisture during dry Fall and Winter periods. And it suppresses early weed growth in Spring, giving emerging bulb shoots a clean start without competition. Shredded leaves, bark mulch, or straw all work well for this purpose. Avoid piling mulch directly on top of Bearded Iris rhizomes, which need air circulation and some sun exposure even through Winter dormancy.
Top 5 Tips for a Successful Planting Day
- Plant when soil temperature is consistently below 60°F but before the ground freezes
- Follow the depth guide for each species and plant with the pointed end facing up
- Space bulbs closely in clusters and drifts for the fullest possible Spring display
- Water thoroughly after planting to settle soil and start root development
- Apply two to three inches of mulch over the planted area to moderate soil temperature through Winter
The Work That Makes Spring Possible
There is a quiet satisfaction in finishing a Fall bulb planting and knowing that the garden holds something beautiful just beneath the surface, waiting for the right moment to appear. The work you put in this afternoon is the work that determines how the garden looks and feels for weeks next Spring. Take your time with it. Enjoy the cool Fall air and the feeling of the soil in your hands. And when the last bulb is in the ground and the bed is watered and mulched, browse the full range of Fall Planted Bulbs one more time to see if there is anything worth adding before the planting season closes. There is almost always room for a few more.